Cheddar_Parameters_Properties.aadl. This set provides parameters
to the Cheddar plugins or to the analysis features called by the plugins.
Most of the AADL properties of this set have to associated to the
root system component of the AADL model instance.
Parameters to configure how to run cheddar are:
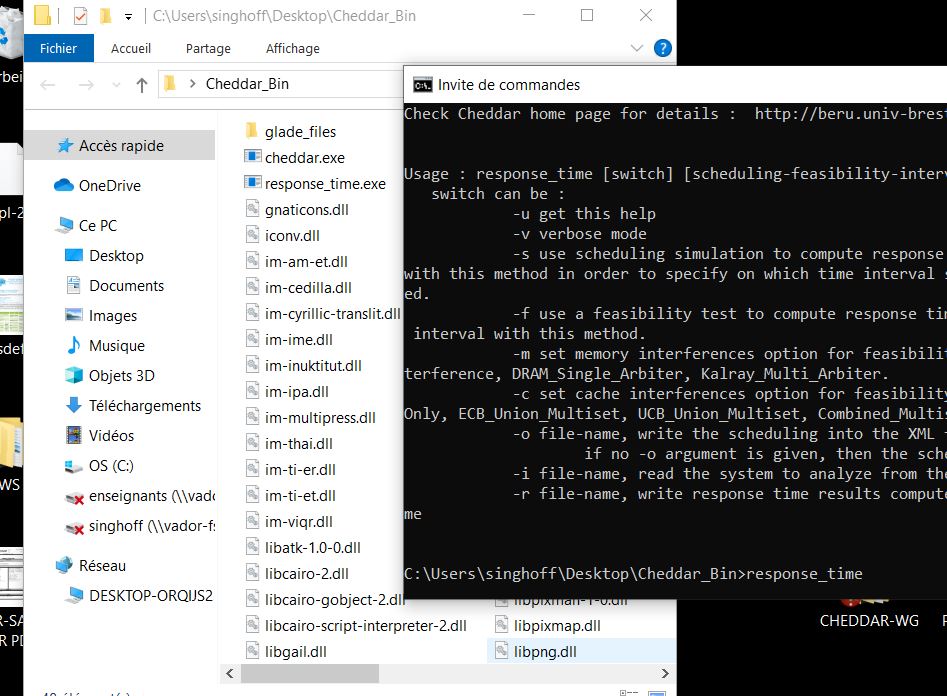
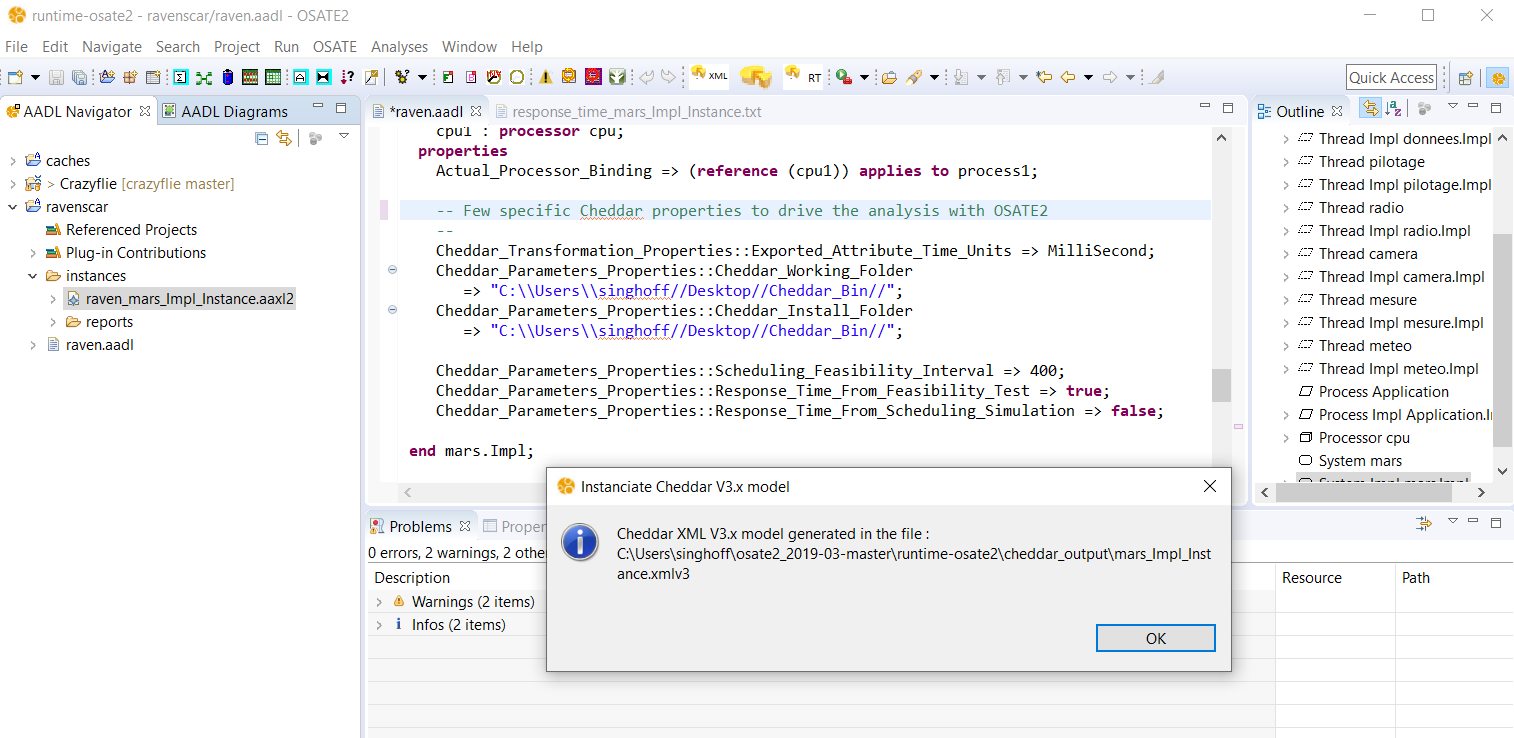
- Cheddar_Working_Folder
This property specifies the folder the plugins can use to store any Cheddar working files.
- Cheddar_Install_Folder. This property gives the path to the folder that
is supposed to contain the Cheddar binaries and any components require to run them, i.e.
windows DLL or linux shared libraries.
Several parameters also exist to configure how to compute the response time
of the threads. With the right Cheddar plugin, response times can be computed
either by scheduling simulation or by feasibility tests.
By feasibility tests, Cheddar is only able to compute worst case response
time. From scheduling simulation, both worst, best and average case can be computed
for the thread response time.
During schduling simulation, various events can be activeted or not with AADL properties.
The highest parameter is the interval of time the scheduling simulation has to be computed :
in the best case, one should compute the scheduling simulation during
the feasibility interval, i.e. the interval of time which captures all
possible events of the analyzed moodel. Finally, for response times computed by
feasibility tests, it is possible to take into account latencies due to
interfences on shared resources (both software and hardware).
Here is the properties available to configure such analysis:
    -- Allows user to select how to compute WCRT : with scheduling simulation or with
    -- feasibility tests
    --
    Response_Time_From_Scheduling_Simulation : aadlboolean applies to (system);
    Response_Time_From_Feasibility_Test : aadlboolean applies to (system);


    -- Set the time interval on which scheduling simulation has to be computed
    -- by Cheddar tools
    --
    Scheduling_Feasibility_Interval : aadlinteger applies to (system);


    -- Select the type of interference we apply when computing WCRT with
    -- feasibility tests
    -- Interferences can be computed on memory shared resources such as cache or
    -- memory bank
    --
    CRPD_Interference_Type  : type enumeration (No_CRPD, ECB_Only, ECB_Union_Multiset,
			UCB_Union_Multiset, Combined_Multiset);
    CRPD_Interference : Cheddar_Transformation_Properties::CRPD_Interference_Type  applies to (system);

    Memory_Interference_Type  : type enumeration (No_Memory_Interference,
			DRAM_Single_Arbiter, Kalray_Multi_Arbiter);
    Memory_Interference : Cheddar_Transformation_Properties::Memory_Interference_Type  applies to (system);


    -- Properties to customize the scheduling simulations
    -- if True, those parameters allow scheduling simulator to take into account
    -- Offsets, jitters, CRPD, Precendencies and resources
    -- Those parameters have the following default values :
    --    Scheduling_With_Offsets => False
    --    Scheduling_With_Jitters => True
    --    Scheduling_With_CRPD => False
    --    Scheduling_With_Precendencies => True
    --    Scheduling_With_Resources => True
    --
    Scheduling_With_Offsets : aadlboolean applies to (system);
    Scheduling_With_Jitters : aadlboolean applies to (system);
    Scheduling_With_CRPD : aadlboolean applies to (system);
    Scheduling_With_Precendencies : aadlboolean applies to (system);
    Scheduling_With_Resources : aadlboolean applies to (system);
Cheddar_Transformation_Properties.aadl.
The properties defined ther are used to drive transformation of AADL models
towards Cheddar XML models. There is not an unique way to produce the Cheddar model
from a given AADL model instance. How each entity of the AADL instance model must
be mapped to Cheddar entities depends on the analysis method users expect to apply.
Most of the AADL properties of this set have to associated to the
root system component of the AADL model instance.
First Cheddar only handles uniform timing data, i.e. timing data which are
expressed with different units. In fact, in Cheddar, there is no
unit at all. In contrary, AADL models may mix various units
and then it is mandatory to transform all timing data from the AADL instance model
to an unique unit. By default the Cheddar plugins generates millisecond values but such
behavior can be changed with the Exported_Attribute_Time_Units
property.
The value of the Debug_Level property can be changed to fetch debug data from
the Cheddar plugin.
In many cases, designers expect to run worst case analysis by designing
Cheddar model composed of periodic tasks.
By default the Cheddar plugin does not change the thread dispatching model of the analyzed
AADL instance model. If one expect to change Poisson or Sporadic AADL threads
to periodic Cheddar ADL tasks, one can set the properties
Transform_Sporadic_To_Periodic or
Transform_Poisson_To_Periodic.
Finally, data port can be handle by differents means with Cheddar.
Data port connections can be mapped either by Cheddar precedences
or by time triggered" Cheddar dependency.
AADL property Data_Port_To_Time_Triggered_Dependency
can used to custimize such a mapping.
Here is the definition of the properties available to configure the transformation from AADL to
Cheddar ADL:
    -- Configure the level of debug data produce by the plug in during
    -- transformation
    --
    Debug_Type  : type enumeration (No_Debug, Minimal, Verbose, Very_Verbose);
    Debug_Level : Cheddar_Transformation_Properties::Debug_Type applies to (system);


    -- All attributes of a Cheddar XML file are homogenous from
    -- a units point of view.
    -- For time units, by default, OSATE 2 Cheddar plugin generates millisecond values
    -- The following property allows desginers to select a different
    -- time unit for the generated values
    --
    Time_Units: type enumeration (MicroSecond, MilliSecond, Second);
    Exported_Attribute_Time_Units : Cheddar_Transformation_Properties::Time_Units applies to (system);


    -- For analysis motivations, one may want to produce Cheddar periodic tasks
    -- from AADL sporadic threads ; this is typically the case when from an AADL model
    -- one expect to run a worst case analysis
    -- If true, the following properties express that for a given system, its sporadic threads must
    -- be transformed to periodic Cheddar task, to sporadic Cheddar task otherwise.
    -- The same mechanism also exits for AADL threads with a poisson process dispatching law.
    -- By default, we do not produce periodic Cheddar tasks for those kind of AADL threads
    --
    Transform_Sporadic_To_Periodic : aadlboolean applies to (system);
    Transform_Poisson_To_Periodic : aadlboolean applies to (system);


    -- Data port connections can be mapped either by Cheddar "precedence"
    -- dependency or by "time triggered" Cheddar dependency
    -- if Data_Port_To_Time_triggeret_Dependency is false, Cheddar precedencies are generated
    -- otherwise time triggered entities are generated
    --
    Data_Port_To_Time_Triggered_Dependency : aadlboolean applies to (system);